Drone Photography Guide: 10 Composition Tips For Dramatic Aerial Shots
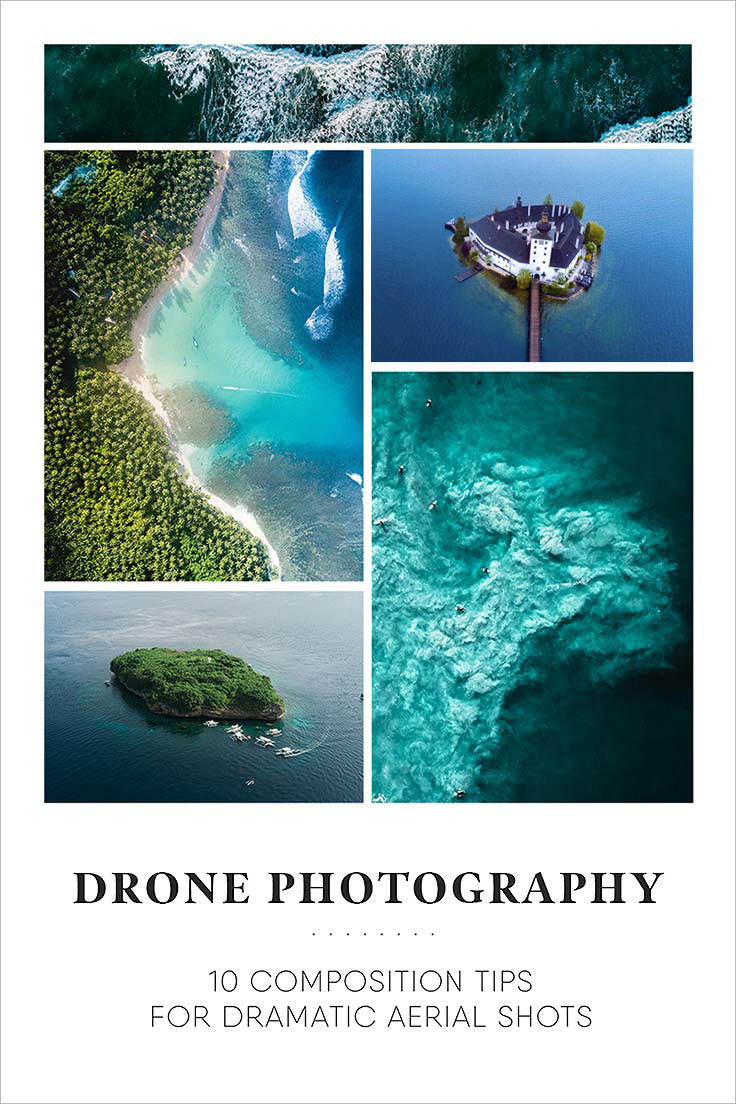
The 21st century has seen an astonishing rise of camera drones. From pocket-size selfie-drones that automatically follow their photographer, to VR drones that transmit their images to VR glasses – the popularity of drones continues down a route of exponential growth. These minuscule and unmanned aerial vehicles are changing the view of our world – as it allows us to see wild, untamed landscapes, seductive lush hills, and our world’s geographical features as we’ve never seen them before. Are you looking to get in on the drone photography game, or are you already an avid drone-fan looking to improve your drone photography? This article will guide you through the fundamentals of composing a drone image.
1
Find a Dramatic Location
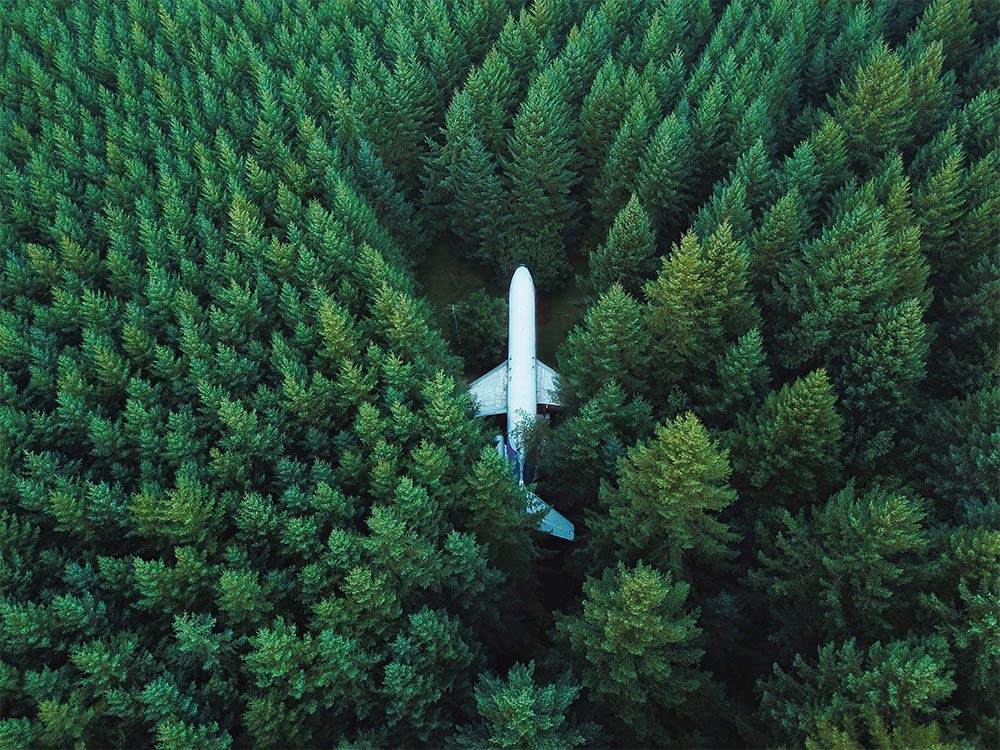
With drone photography in particular, finding the ideal location is half the art. Truth be told, not all sites and locations are ideal for drone photography. To get an interesting shot from above, you need to find a site that has varying topographical texture and alterations in terrains. The textural patterns will give the photograph a three-dimensional appearance, creating depth, allowing the landscape to come alive.
Photo Details: Camera Make: DJI • Focal Length: 4.7mm • Aperture: ƒ/2.2 • Shutter Speed: 1/50s • ISO 100
2
Consider The Lighting Conditions
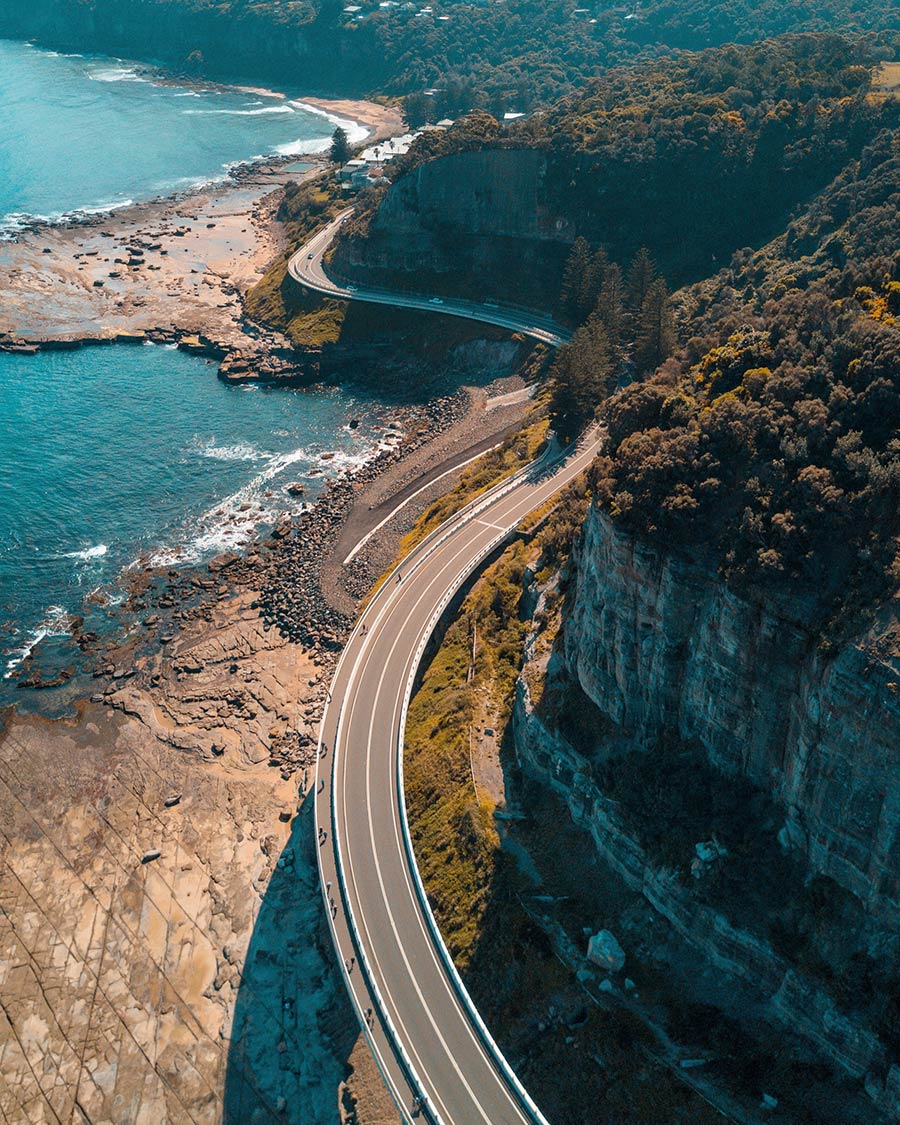
Aerial photography is no different to other types of photography. Lighting is important to the art of photography. As natural light varies with latitude, altitude, cloud cover and humidity, make sure to do your research before heading out. If you opt for warm colour and soft illumination, you ought to shoot just after sunrise or just before sunset (Golden Hour). At this time of day, a diffuse golden glow will fill the atmosphere, creating long shadows of objects. On the other hand, if you opt for full illumination of the landscape, you better shoot during mid-day when the sun is high in the sky.
Photo Details: Camera Make: DJI • Focal Length: 4.7mm • Aperture: ƒ/2.2 • Shutter Speed: 1/4000s • ISO 100
3
The Importance Of Texture
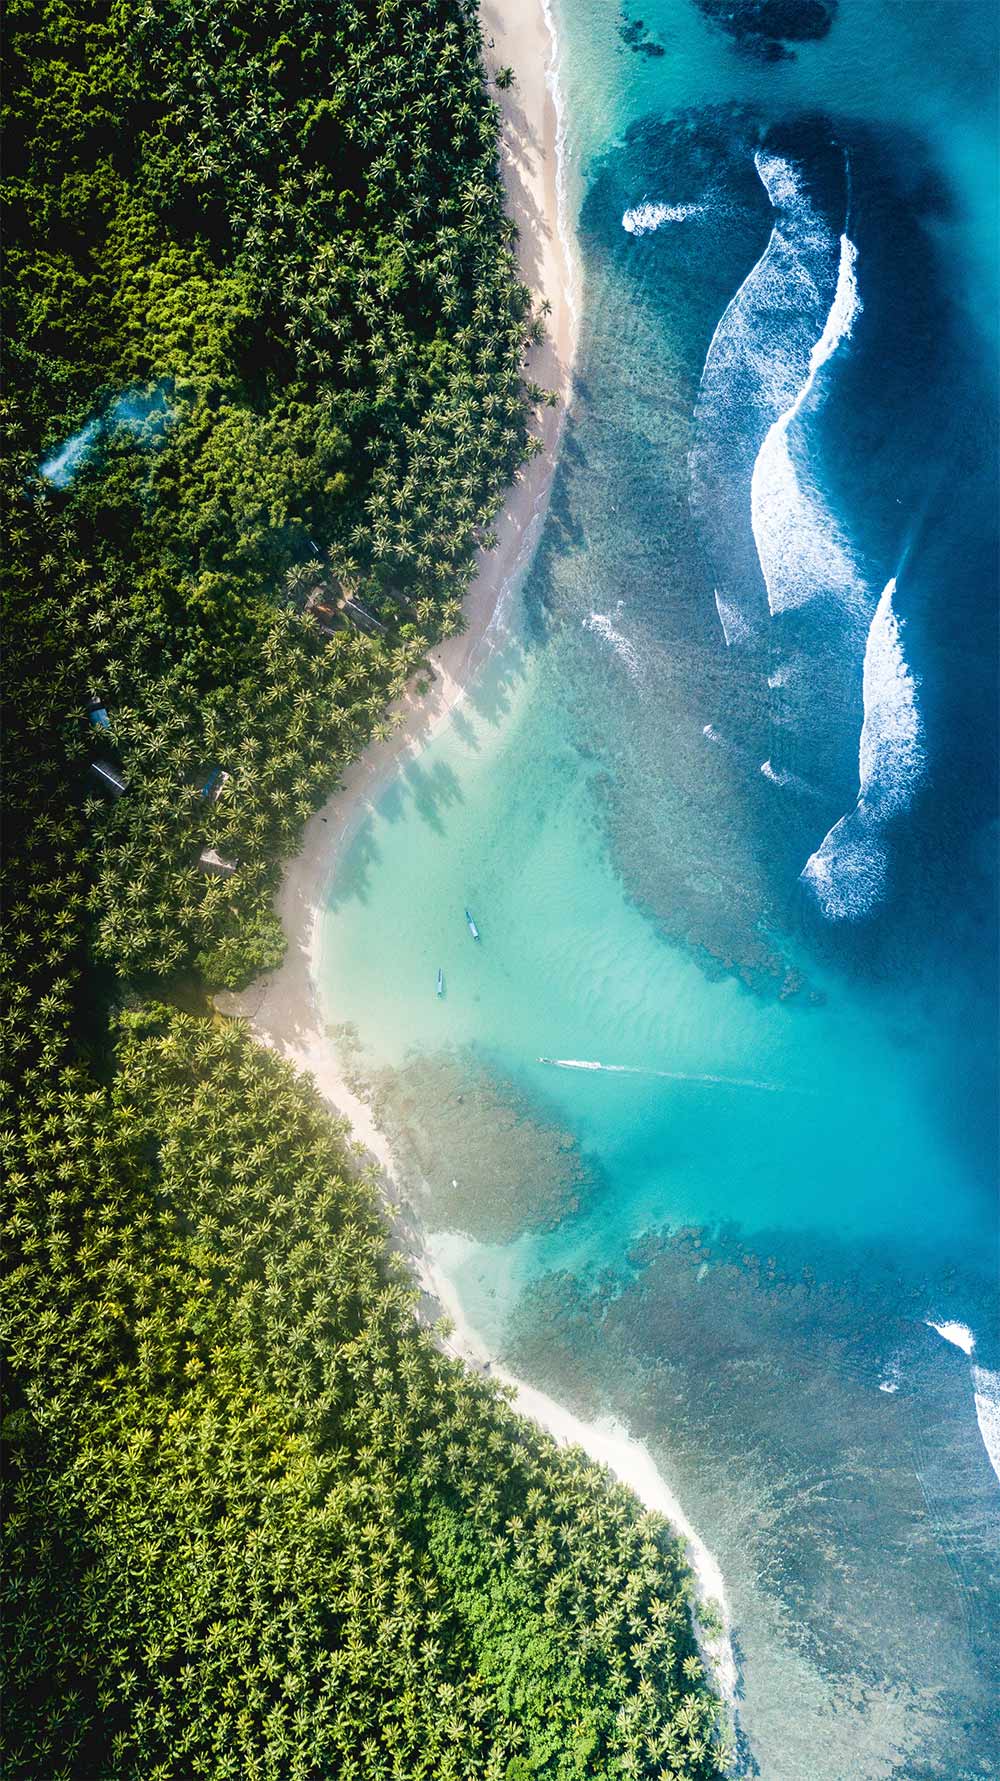
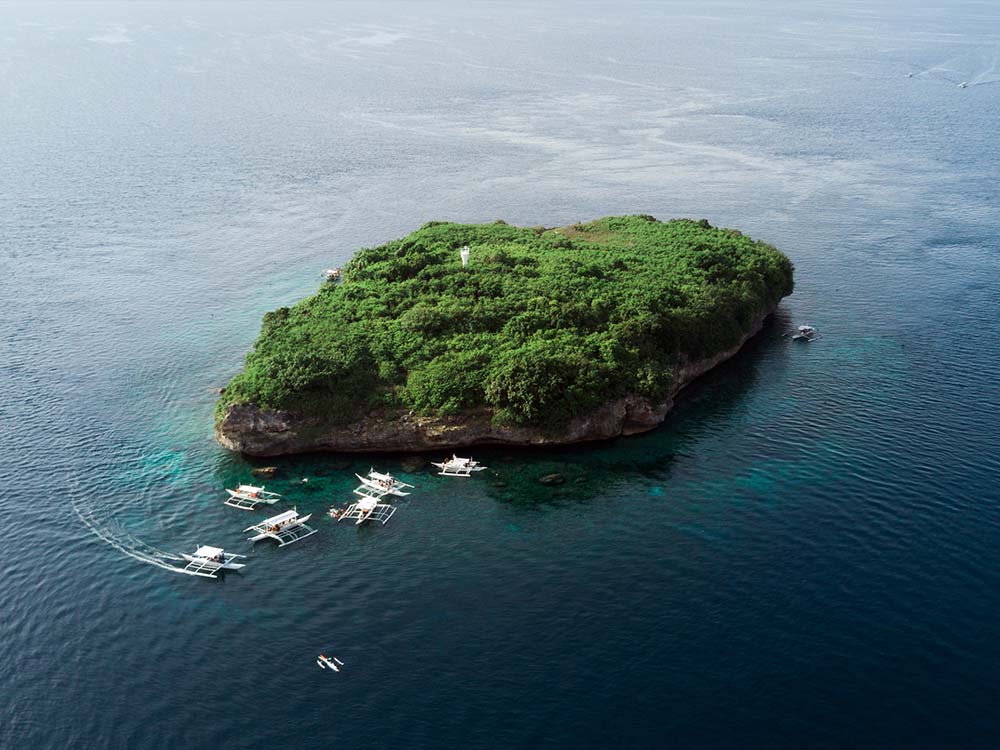
Incorporating texture in photographs is just as powerful as contrasting color, leading lines, or dramatic scenery. Look for sites with contrasting textures that would be considered to collide – such as a greener-than-green hue fields that meet the smooth blue-green froth of the ocean. Contrasting elements like these make for an compelling composition.
Photo Details: Camera Make: DJI • Focal Length: 4.7mm • Aperture: ƒ/2.2 • Shutter Speed: 1/4000s • ISO 100
4
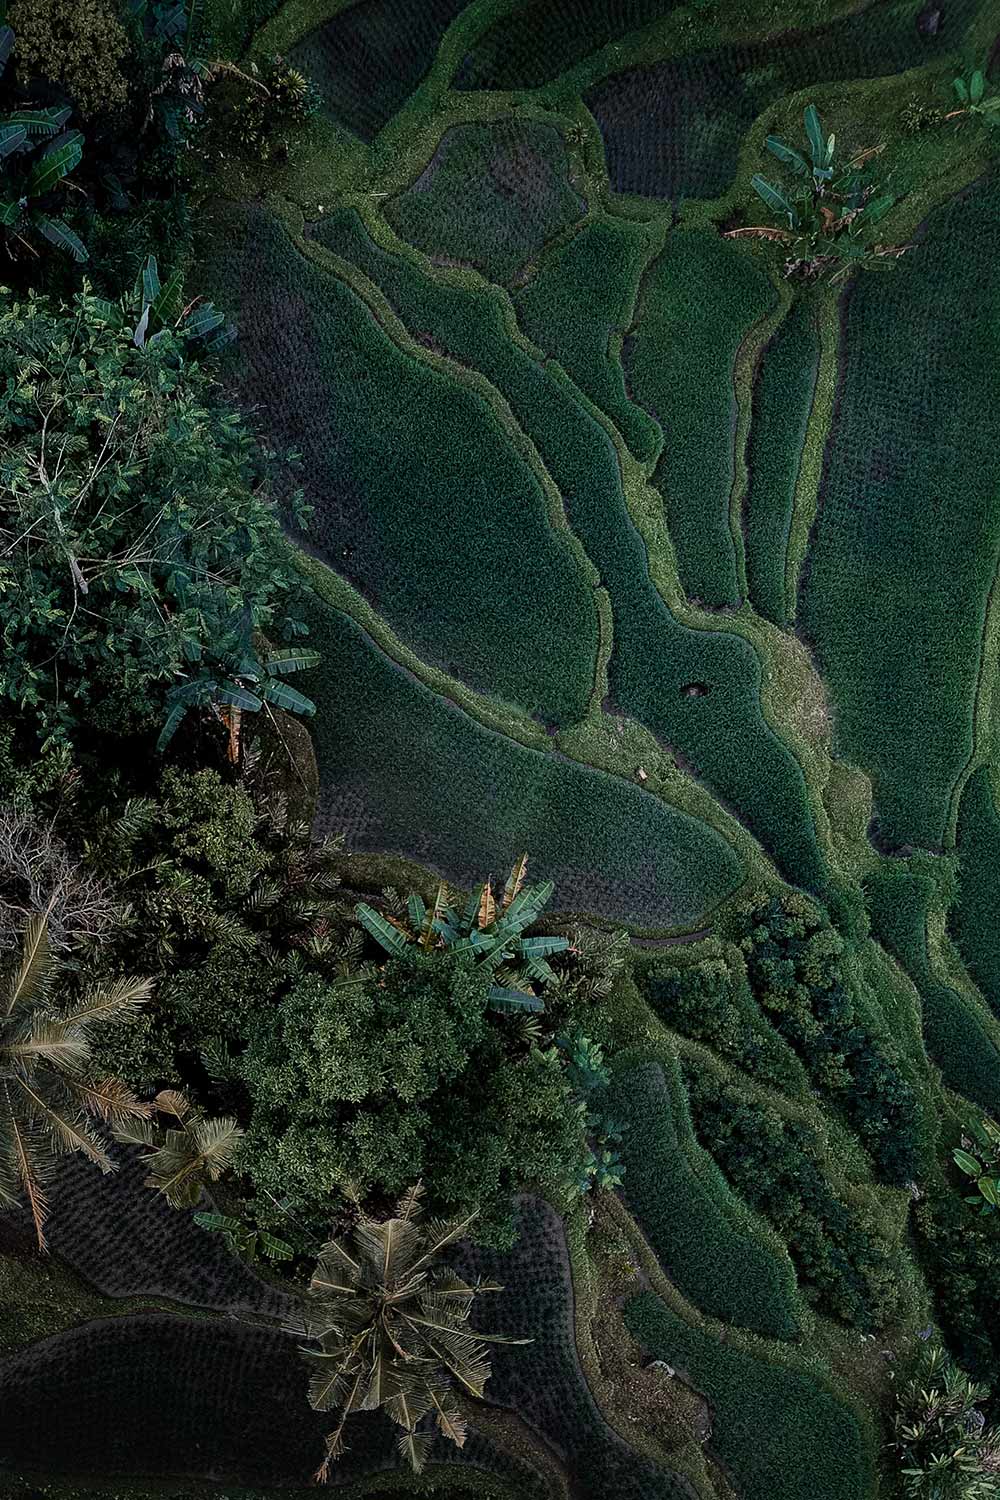
Play With Patterns
Filling the entire frame with strong, irregular patterns can result in amazing photographs. The repetitions of shapes, objects or colours in a scattered manner can be incredibly powerful tools for catching the viewer’s attention. Patterns are everywhere – both natural and man-made. The photo above depicts a terraced field of rice in Bali – but it is not the subject matter that is the centerpiece, rather, it is the actual details in the surface, the irregular planting patterns.
Photo Details: Camera Make: DJI • Focal Length: 4.5mm • Aperture: ƒ/2.8 • Shutter Speed: 1/15s • ISO 400
5
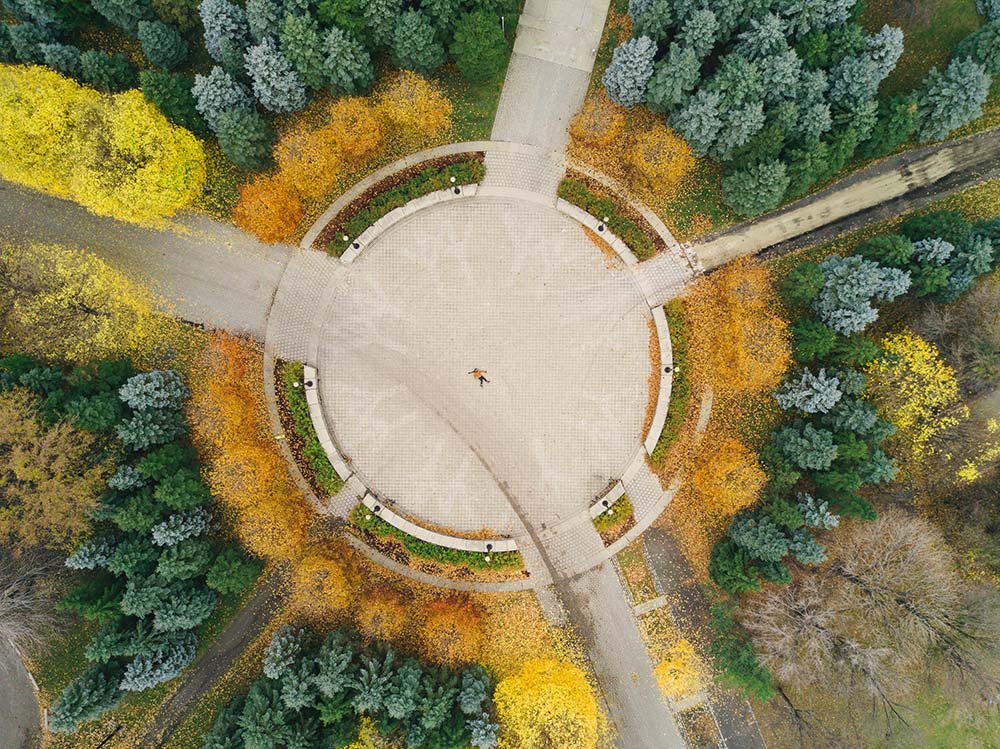
Colour Contrast & Complementary Colours
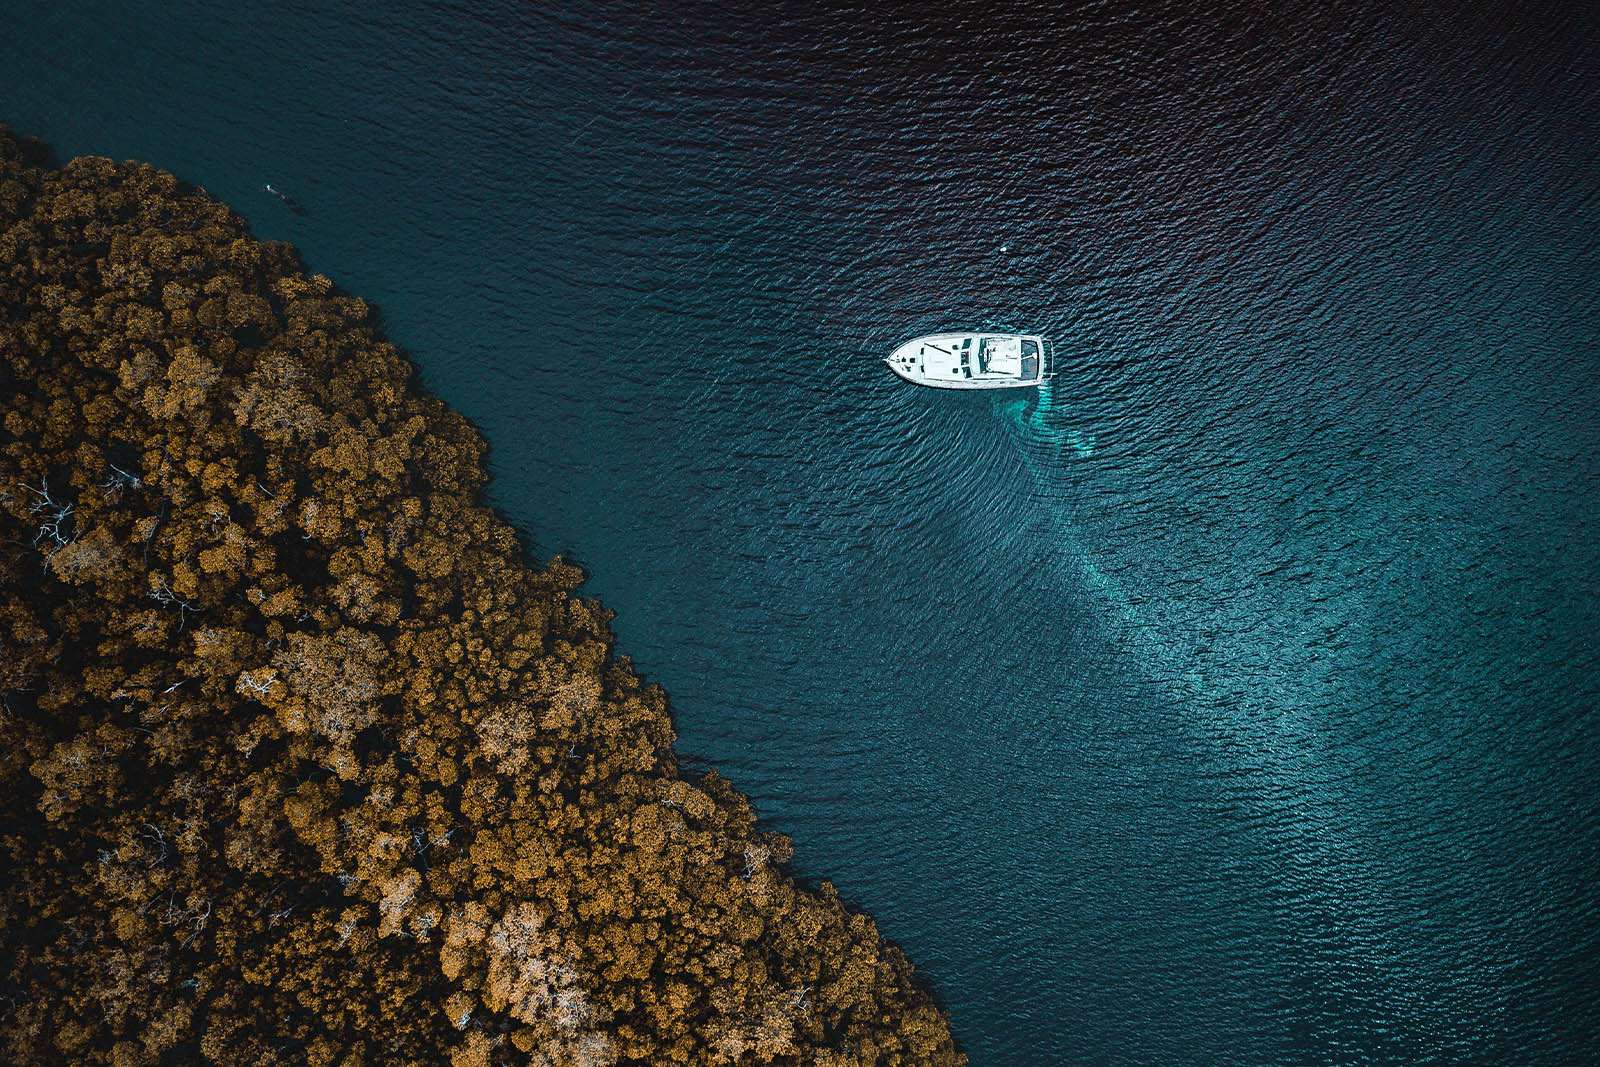
In the photograph above, the colour contrast is between the orange, yellow and teal trees. If you take a look at the colour wheel, red orange and blue green are placed at opposite ends – they are complementary colours. The trees are positioned against a neutral background – which further emphasizes the intensity of the hues. Utilizing colour contrast enables you to craft dramatic compositions. Colour contrast is best combined with a simple composition. Don’t forget to opt for a scene with a limited colour palette, as too many hues would make the image messy.
Photo Details: Camera Make: DJI • Focal Length: 4.7mm • Aperture: ƒ/2.2 • Shutter Speed: 1/4000s • ISO 200
6
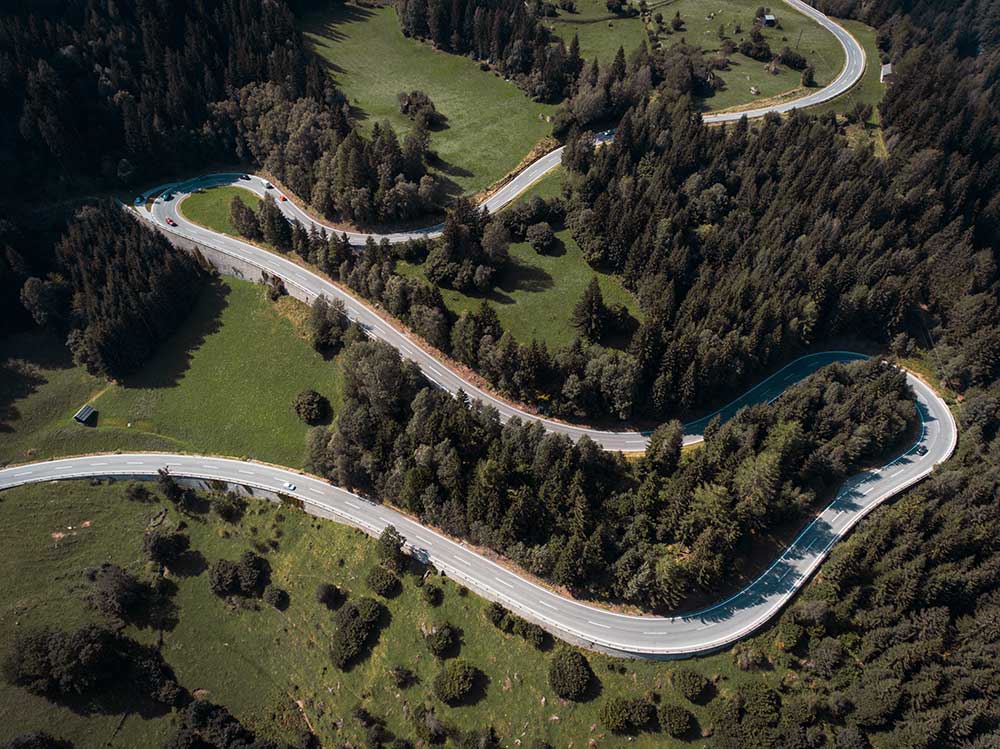
Seek Out Striking Shapes
As with colours, texture, and patterns, shapes can be equally impactful. From an aerial view, shapes you’ve never given a second thought can reveal themselves in the most unexpected places. Shapes that may not be so prominent from the ground can be prominent from above. Curvy lines, in particular, make a great subject matter.
7
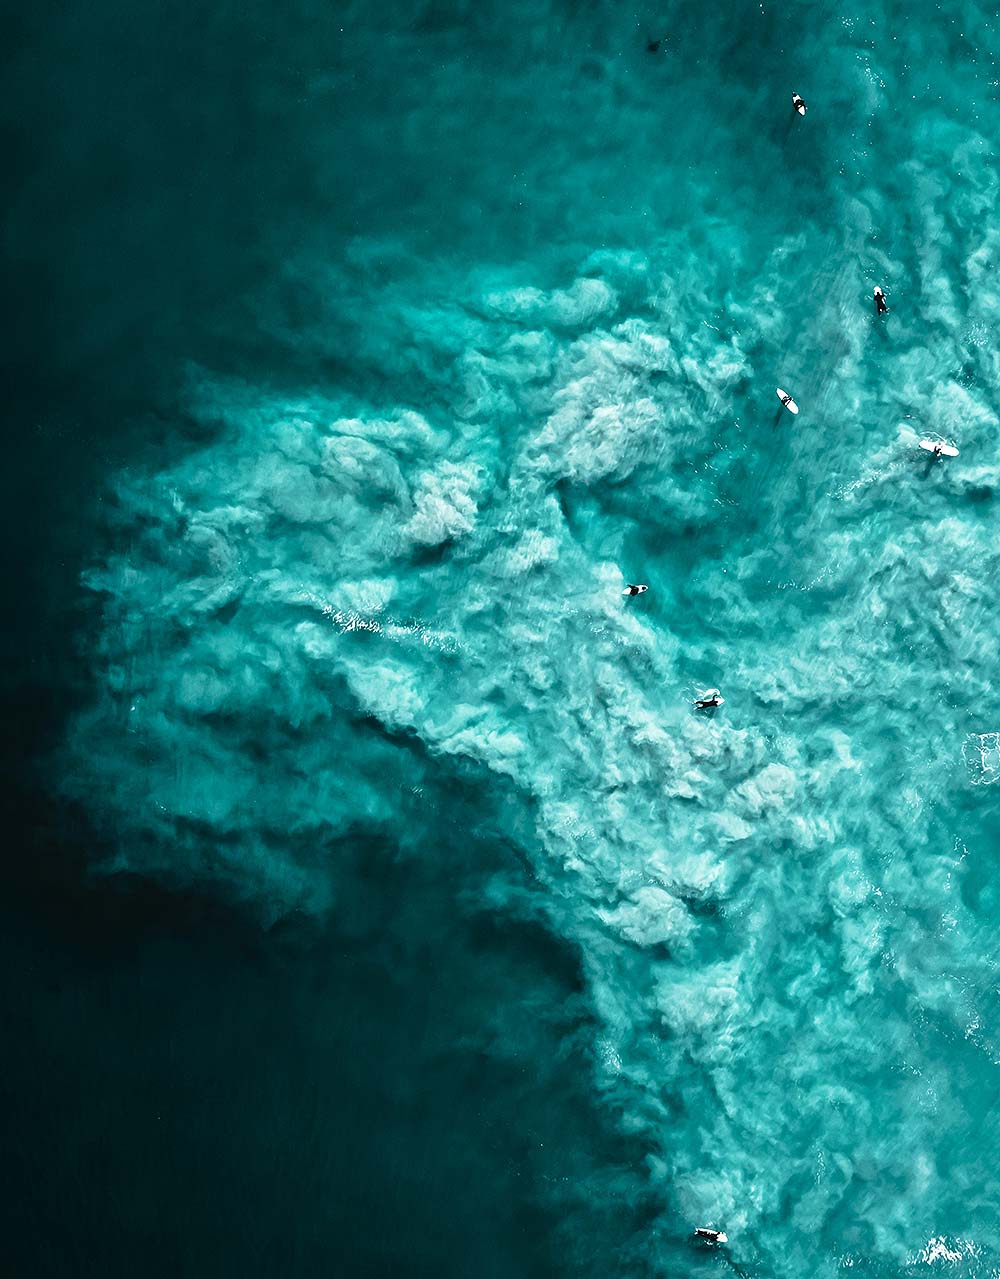
Love The Long Shutter Speed
Long exposure photography has often been reserved for those with a tripod, but believe it or not, on still days, drones can be exceptionally balanced in the air, allowing you to utilize a long shutter speed. The drone footage above is taken at Freshwater Beach in Australia, and captures surfers riding gigantic, frothing waves. The long exposure resulted in velvety smooth water that adds an artistic twist. Don’t forget your ND filters, which will enable you to work with longer exposures even though it is relatively bright.
Photo Details: Camera Make: DJI • Focal Length: 8.8mm • Aperture: ƒ/4 • ISO 100
8
Selfie A Twist
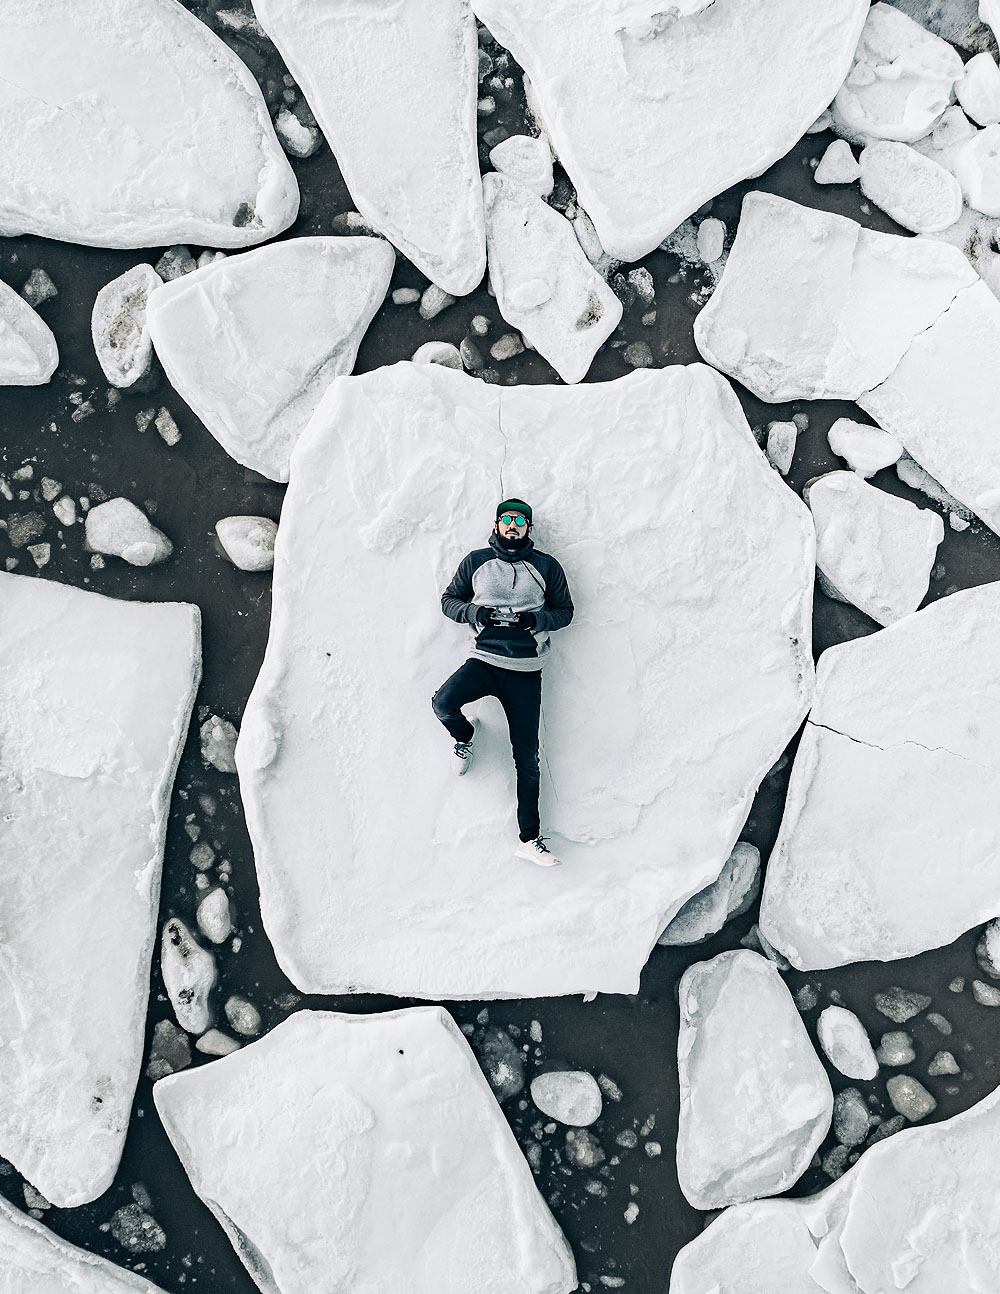
Understandably, most drone images I’ve seen do not feature people. The art of taking photos of people from above can be difficult to master, but not impossible. By adding a figure of a person to your scene, you create a sense of scale and depth in the image. In other cases, the person may be the centrepiece of the image. The photo above, taken in Bahamas on Great Exuma, portrays a girl in an inflatable raft, leisurely floating over the serene nurse sharks in the blue luminescence.
Photo Details: Camera Make: DJI • Focal Length: 4.7mm • Aperture: ƒ/2.2 • Shutter Speed: 1/4000s • ISO 100
9
Oblique Perspective vs. Vertical Perspective
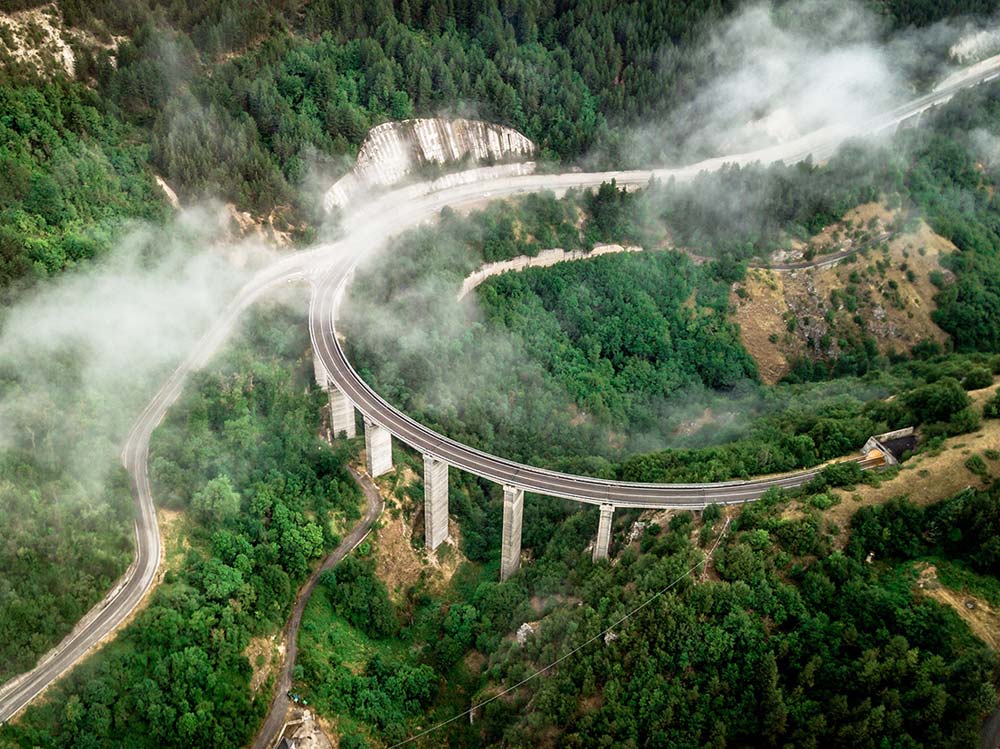
With drones comes the wonderful ability to shoot from high altitudes, but don’t let this ability limit you in your creative process. There is no need to feel bound to shooting from a vertical perspective (taken straight down). In fact, some of the most marvelous drone images I’ve come across are taken at a lower altitude, but from an angle that would be inaccessible without an aerial vehicle. Experiment with oblique (taken at an angle) perspectives. Photos taken from an oblique perspective more closely resembles how we usually view landscape compared to traditional orthagonal (straight down) imagery.
Photo Details: Camera Make: DJI • Focal Length: 4.7mm • Aperture: ƒ/2.2 • Shutter Speed: 1/30s • ISO 185
10
Fundamental Compositional Theories Still Apply
It is easy to forget the fundamental composition rules when in the air. It is important to remember that these guidelines still apply. For this reason, consider the golden ratio, rule of thirds, leading lines, diagonals, etc. For your convenience, make use of the built-in third grid overlay in your ground station app – this will help you compose your shot.
Drone photography can be awfully rewarding recreation, well worth the time and investment. Hopefully this article has helped you develop your drone photography skills. If you have any questions or comments, please let me know in the comments section.
8 Comments
-
Sarah
These are gorgeous shots!! I need a drone with a good camera now!
-
Miljana
It’s a very simple, yet informative guide! A drone is a great invention, but too little people know how to use it, since it’s a new trend!
-
David Elliott
You really do have some incredible shots here. Not sure I would be the person for this although I have a couple of friends who are really into drone photography. I will definitely pass this along.
-
Joel
I love your informative articles and admire your passion and approach. Just picked up the dji mavic 2 pro and am anxious to see how I can improve my portfolio with it. Just wondering, do you color grade the drone videos?
PS : The shots are just mind blowing and perfectly executed.
-
Daniel
Love aerial panoramas! Very inspiring post and spot on with everything you said! I crashed my old toy-grade drone but can’t wait to get my new Mavic in the air! I’d also add some additional recommendations to the list — take advantage of auto exposure bracketing and always experiment with all types of aspect ratio.
-
dreaming.loud
These tips are so great, I would definitely keep them in mind.. Your photos are so cool..!
-
Thomas
Are you able to make sure the drone remains stable when in the air? I want to take 0.5 exposures but am having done difficulties getting sharp results.




Jason
I love your informative articles and admire your passion and approach. Just picked up the dji mavic 2 pro and am anxious to see how I can improve my portfolio with it. Just wondering, do you color grade the drone videos?
PS : The shots are just mind blowing and perfectly executed.