Astrophotography – How to Shoot The Night Sky, Part 2: Camera & Techniques
This is Part 2 of our Astrophotography – How To Shoot The Night Sky series. This part will delve deep into what gear and equipment to use and what settings to shoot with.
I’ve been a photography buff for well over fifteen years, an an amateur astronomer since I was 6. Nevertheless, astrophotography – the photography of the night sky, always appeared to be an intimidating task. The sole idea of capturing the moon, planets, constellations, and even a galaxy, just seemed preposterous. I wrongly presumed that astrophotography required fancy equipment, expensive gear, and a bucket-load of skills. This fallacy once was what stood between what I dreamt of creating, and what I was creating. A barrier that could be broken down only by taking a chance and step into the unknown.
A few hundred shots later, astrophotography had grown to become one of my favourite forms of photography, and remains to be to this day. Earthly landscapes beneath scenic starry skies are truly soul filling, and the intense colors of the Orion nebula and the glimmering Pleiades has not once failed to mesmerize and perplex me.
If you are a beginner and keen on taking this chance and step into the unknown, you’re in luck. With a proper DSLR camera, a sturdy tripod, and a large dose of patience, and some planning, the glistering Milky Way is within your reach.
Read on for some tips, tricks and easy applicable step-by-step instructions that are actionable for all type of photographers, no matter skill levels. Wherever I can, I’ll provide pointers, share the settings I shoot with, and provide links to helpful resources. Without further ado, let’s jump straight into the endeavor of Astrophotography!
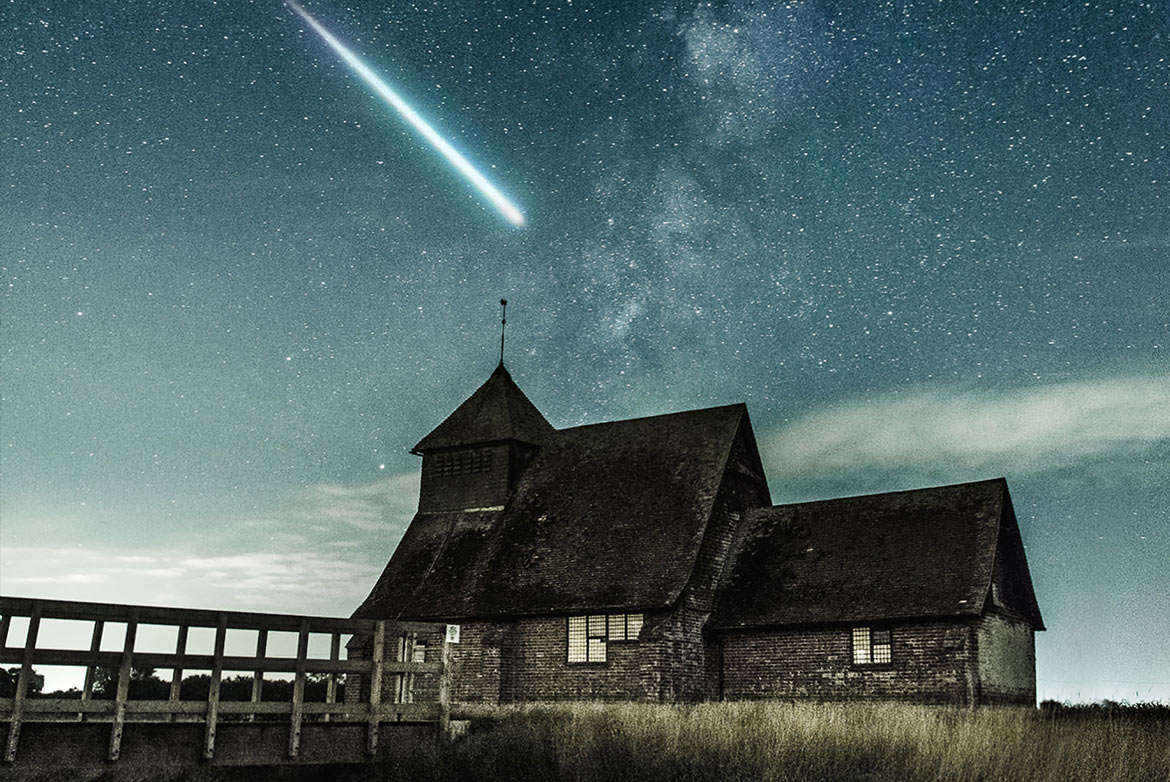
Focal Length: 24mm • Aperture: f/4 • Shutter Speed: 20s • ISO 6400
Gear & Equipment
In truth, you can get started with astrophotography with almost any kind of system camera. However, if you want to go that extra mile to be able to capture truly high quality night sky shots, make sure to invest in the proper photography equipment. At the bare minimum, this is what you need:
A Camera With Full Manual Mode Functionality
For any branch of astrophotography, you will need to be able to manually adjust the ISO, aperture, shutter time and white balance. This will give you full control of the exposure. A full frame camera is by no means crucial, however it is beneficial as the larger sensor allows much higher ISO values with less noise, and will give you greater dynamic range. If you want to learn more about sensor sizes and how they impact your photos, read our article Camera Sensor Formats – Why Size Matters.
A Remote Control or a Shutter Release Cable
This will allow you to take photos without touching the camera, and so minimizes shaking the camera during exposure. It is very beneficial when shooting in bulb mode (more about that later). If you do not have a remote control, set your shutter release on the 2-second timer.
A Sturdy Tripod
The tripod must be sturdy, as astrophotography relies on a very long exposure time. Don’t risk ending up with blurry photos because you relied on a light, rickety tripod. These are easily shaken by wind or even a light breeze, and will ruin your entire photo.
My rationale is, why place thousands of dollars on a cheap tripod that will ultimately fail to support the weight of my gear? If I’ve forked out so much money for my camera and lens, I can surely invest a little extra in a reliable tripod to make sure my equipment won’t crash to the ground. With astrophotography, the quality of your final photograph heavily relies on the stability of whatever your camera is mounted to.
Once you’ve mounted your camera onto your tripod, make sure to really tighten the ball-head mount to your camera (low quality ball-head mounts can sometimes move under the weight of the mounted camera). Also, don’t forget to secure your camera straps, or else they may jiggle in the wind and induce unnecessary motion of the camera.
A Lens With A Wide Aperture
Some prefer wide-angle lenses that allow them to capture more of the scene, others prefer medium-telephoto lenses for a more close-up view. Whichever you choose, make sure your lens has a wide aperture – so it lets in the most light. A proper, quality lens will let you use the full potential of your camera – so make sure to choose wisely.
You also want to make sure your lens is sharp at its widest aperture, or else you run the risk of that the celestial objects turn out blurry. The lenses with wide apertures tend to be prime lenses, and these are the lenses that produce the sharpest results. That said, you don’t need to count out zoom lenses, as they can still give you fair results.
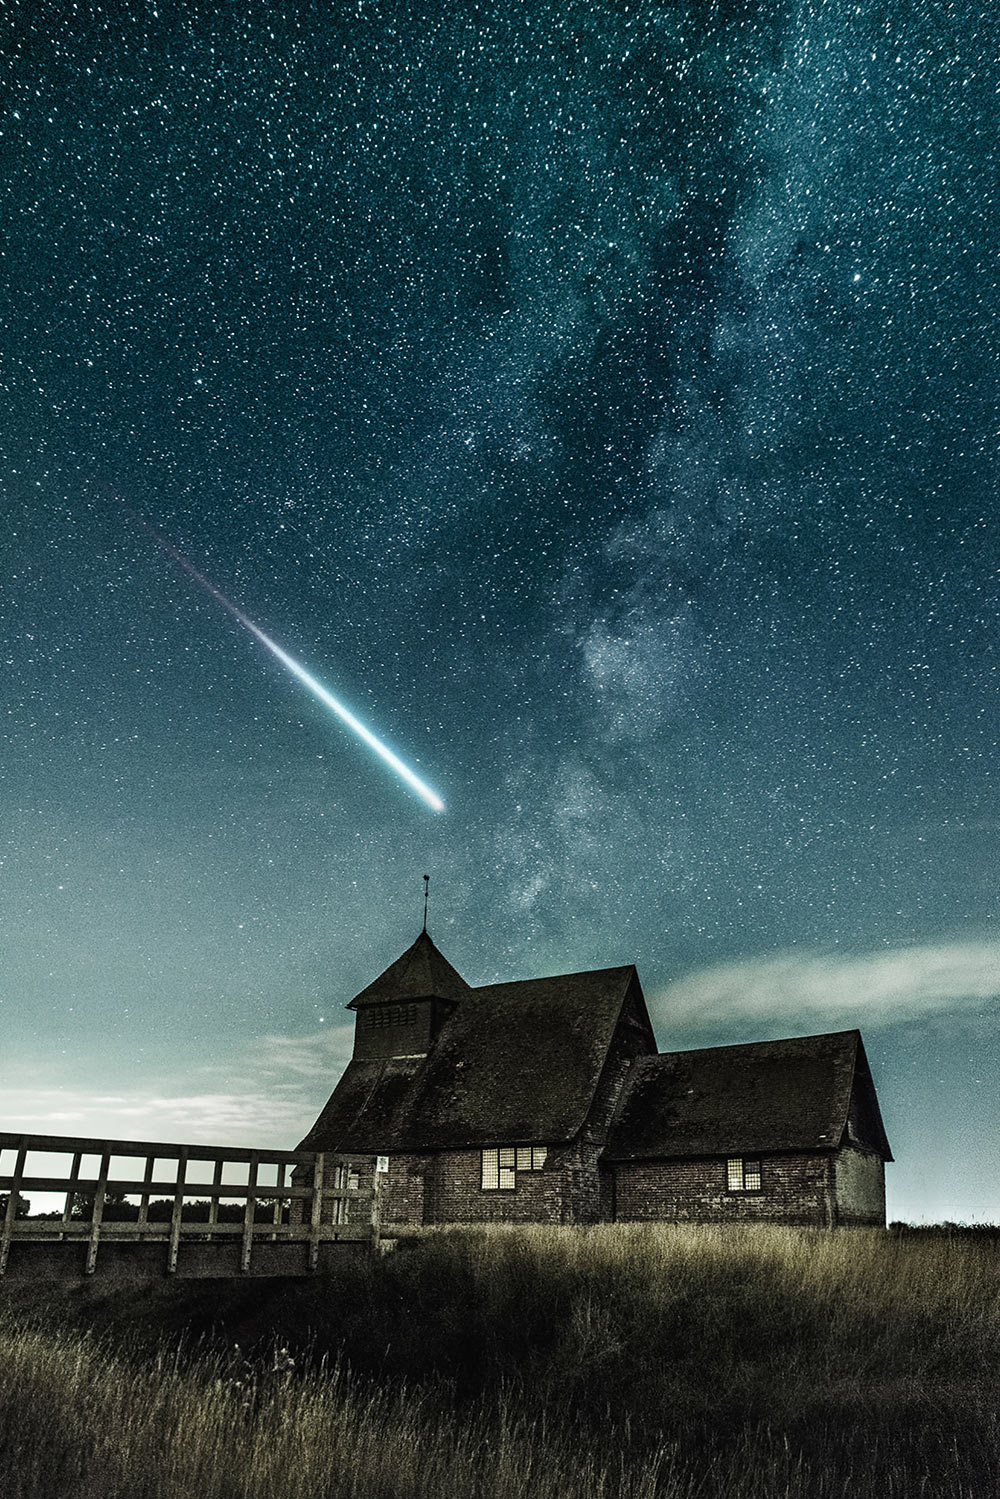
Focal Length: 23.7mm • Aperture: f/4.5 • Shutter Speed: 10s • ISO: 3200
Settings
Unless you are opting for photos with star trails, astrophotography is much about letting your sensor absorb as much light as possible during the shortest time possible. First of all, set your camera to Full Manual Mode – look for an “M” on your mode selector dial. Second, make sure to shoot in RAW (you are going to need to post-process the photos further down the line).
Focus Mode
Set your lens to manually focus on infinity. Each camera has slightly different settings, but on the barrell of your lens, set the focus to MF which stands for manual (look for the AF/MF switch). Then twist the focus ring on the lens, all the way to the left so that the indicator is lined up with the infinity symbol, and lock the focus here.
Aperture
Set your camera to a very wide aperture, generally the widest possible aperture. Select the lowest possible F-number in your camera settings. Some cameras go as low as f/1.2 or f/1.4, but I’ve found it hard to focus with such a wide aperture, so I tend to set my aperture somewhere between f/2.8 and f/4 for best results.

ISO
The ISO determines how sensitive the sensor is to light. Most modern full-frame sensors are able to handle higher ISO settings (3200 or even higher). Lower-end models are able to handle 1600, any higher than that and they start to incorporate too much noise. Avoid really high ISOs as it will degrade your photo quality, and make your photos grainy.
I usually start with an ISO of 800-1500 and snap a test shot to see if my image is bright enough without displaying too much noise. If it isn’t, and I am unable to increase the shutter speed without getting star trails, I increase the ISO even further.
White Balance
A white balance that is set to auto may result in a reddish sky. To avoid awkward colour casts, make sure you use a custom white balance setting. If you do not know how to customize your white balance, set it to Daylight or Sunny. You can alter the white balance during the post-processing, but why go through any uneccessary steps if you can just set the correct white balance in your camera to begin with?

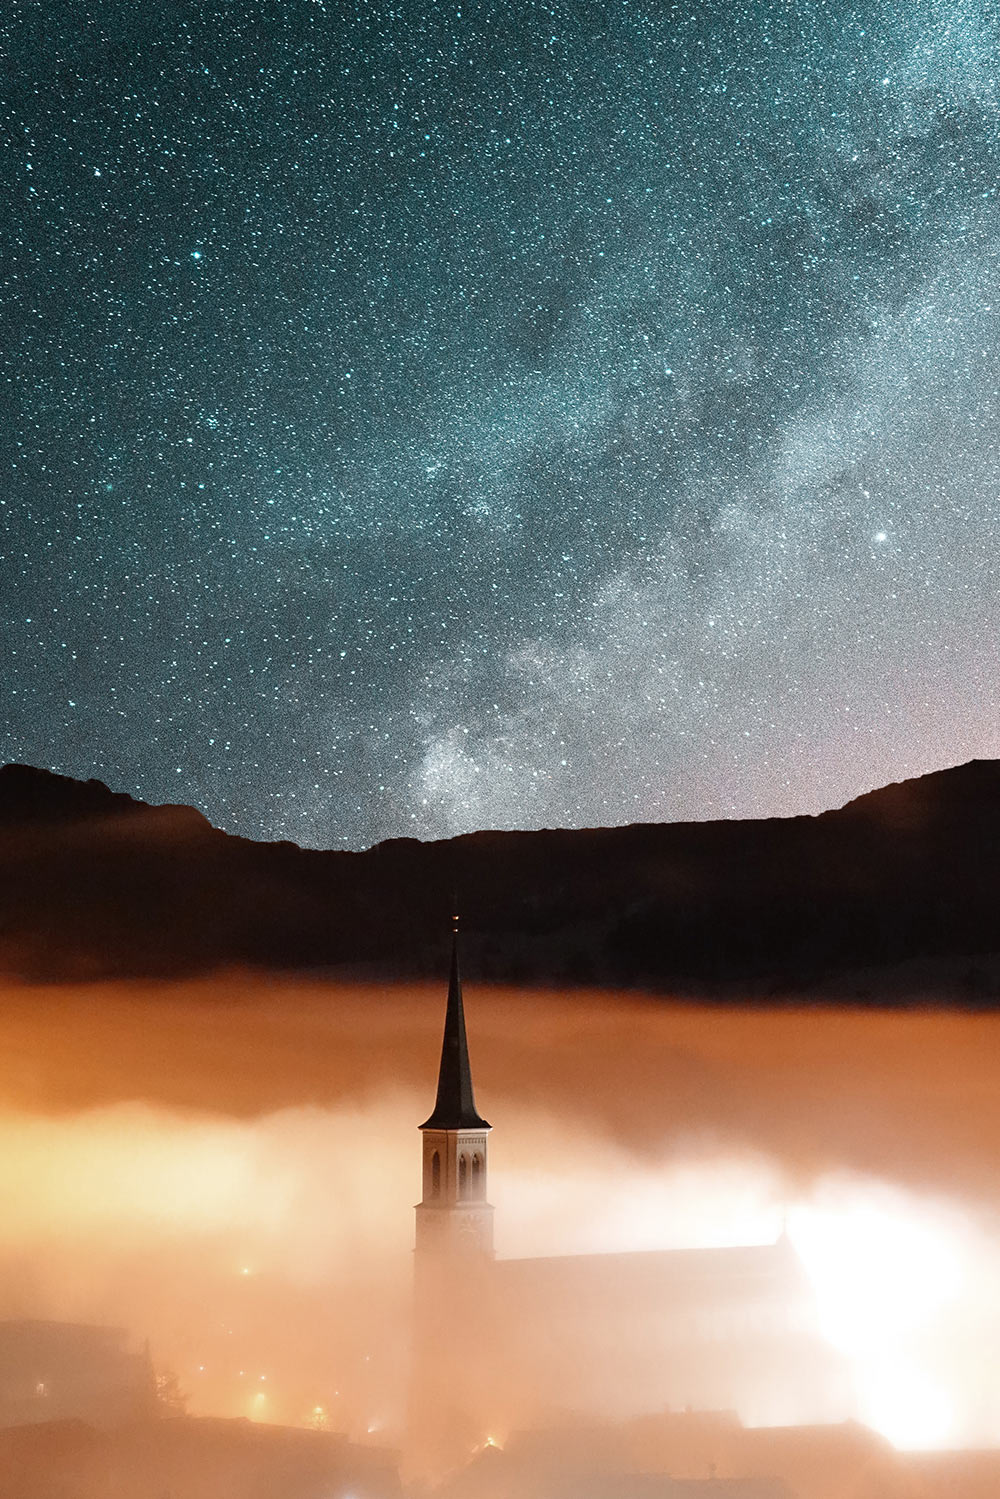
Focal Length: 50mm • Aperture: f/2.2 • Shutter Speed: 10s • ISO: 3200
Shutter Speed
What shutter speed to opt for varies greatly depending on what type of photo you are planning to capture, as well as what lens and camera you shoot with. If you opt for motion blur (star trails) in your photos, you will need to work with a long exposure time. In contrast, if you rather want to freeze the motion and get crisp, clear stars, you need to shoot with a shorter exposure time. For this article, I will be focusing on how to eliminate star trails.
For shutter speeds that are longer than 30 seconds, you need to choose the bulb-mode. This will allow the shutter to stay open for as long as you like – it won’t close until you let go of the button (which is also why you’d need a remote control).
If you are looking for a baseline that helps you determine the ideal shutter speed, you could utilize the so-called 500 Rule: 500 Divided By the Focal Length of Your Lens = The Longest Exposure (in Seconds) Until Stars Start to Trail. So if you shoot with 24mm on a full frame camera, the maximum exposure time for your shot is 21 seconds (500 / 24 = 21). If you do not shoot with a full-frame camera, you need to take the crop factor into consideration when calculating your recommended exposure time.
Personally, I play around with the settings. I start with a shutter speed of 5 seconds, then 10, 15, 20, 25 and 30 seconds – and subsequently examine the results. Any longer than 30 seconds though, and the celestial bodies will turn out blurry. If you notice that you cannot decrease your shutter speed without getting blurred photos, increase the ISO as needed. If you want the stars to trail across the photo, in contrast to appear static, then you will need to utilize completely different settings.
Focal Length: 24mm • Aperture: f/4 • Shutter Speed: 20s • ISO: 4000
Suggested Settings
- Shoot in RAW.
- Mount your camera on a tripod.
- Program Mode – Manual.
- Focus Mode – MF and focus on infinity.
- White Balance – Custom (or Daylight).
- Drive – One Shot.
- ISO – 800-1600.
- Aperture – Widest possible. E.g. f/1,4 – f/4.
- Shutter Speed – Greatly varies. 10 seconds – 1 minute.
- Flash – turned off.
- Exposure Compensation – Zero.
- Metering – Spot (if you are shooting the moon or sun).
- Self-Timer or Remote Control – Use a self-timer or a remote to start the exposure.
As with any type of photography, astrophotography is a balancing act between the ISO, Aperture and Shutter Speed, so you will have to experiment your way through it and find a sweet spot that works for you.
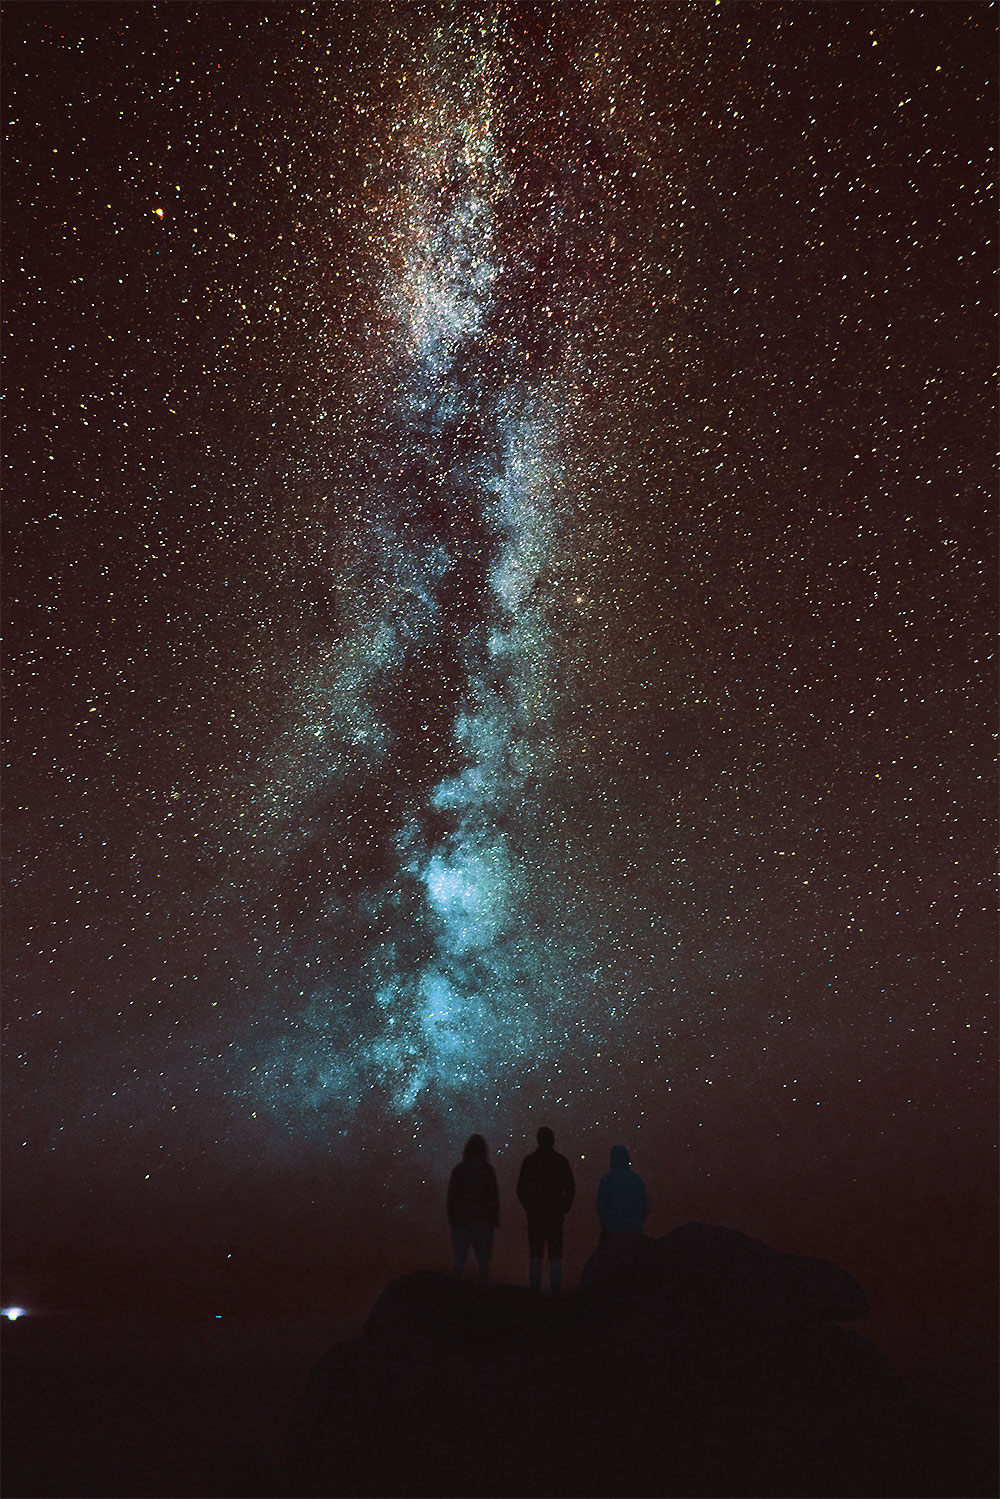
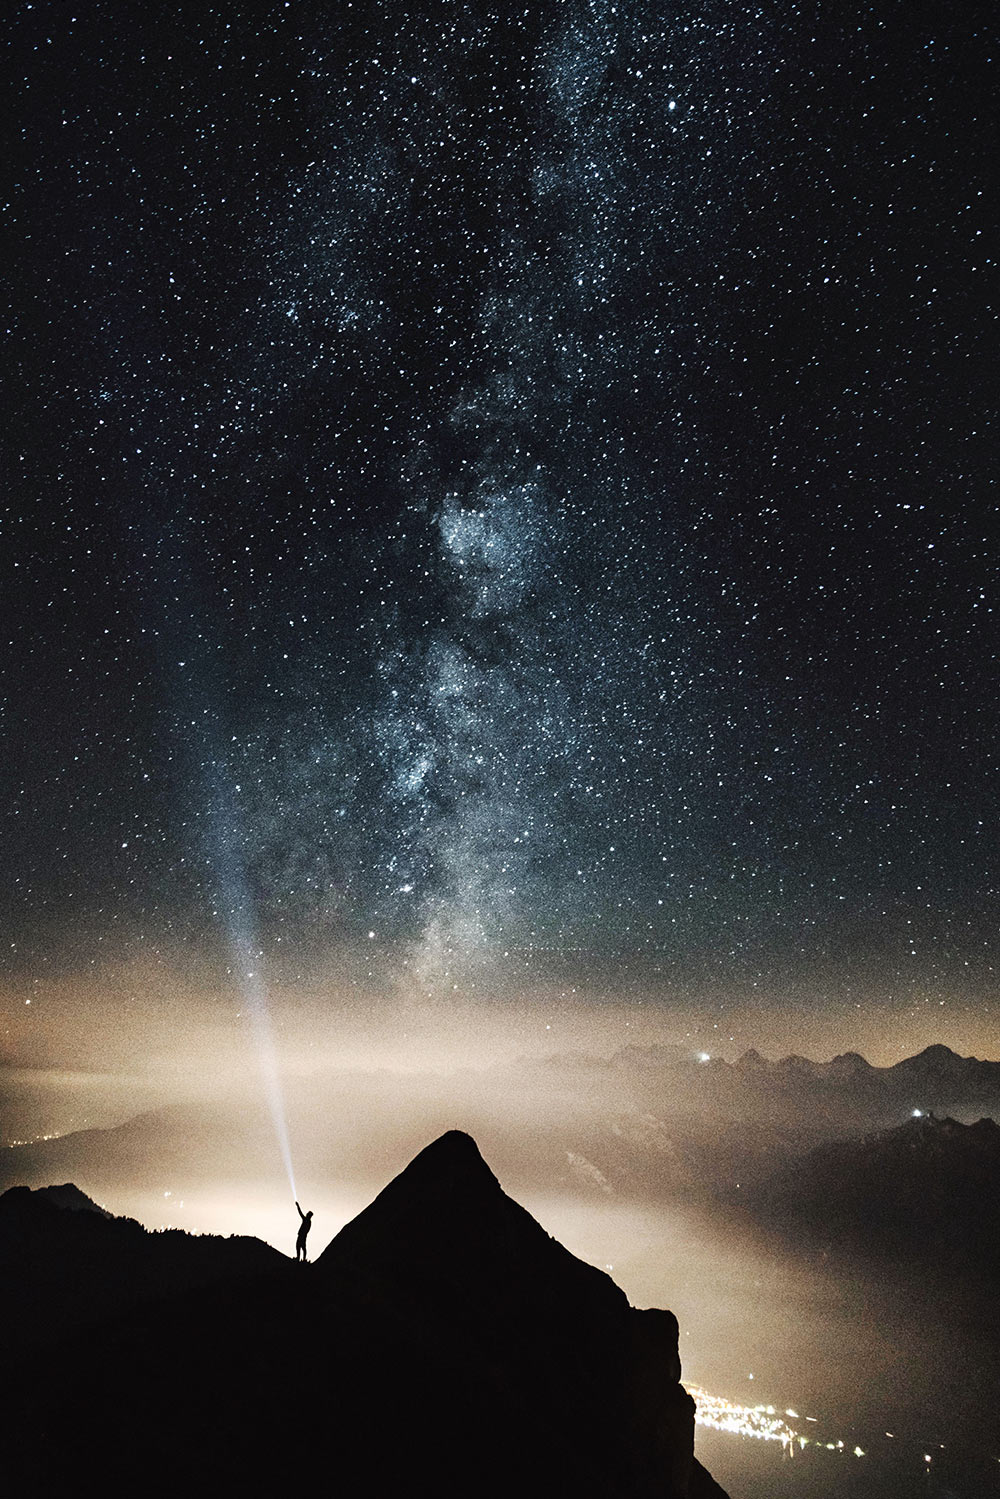
A human element, such as a silhouette in the foreground may nicely complement the starry night sky.
Focal Length: 12mm • Aperture: f/2 • Shutter Speed: 1/30s • ISO 6400
This concludes the first part in our series on Astrophotography – How to Photograph The Dramatic Night Sky. Continue to Part 3 if you want to advance even further, and learn all about post-processing, focus bracketing and light painting (how to lighting your foreground at night by using a flashlight). Alternatively, go back to Part 1: Planning & Preparations if you want to refresh your memory on the basics of Astrophotography; the planning stages, how to compose your shot, and the required skills.
I hope this article provided an effective learning experience! Apply these principles and open up your eyes to the beauty of space and the galaxy that lies beyond our own. Enjoy your journey under the stars!
8 Comments
-
Michael
Thanks!!!! Very interested to learn.. though I don’t have the equipment yet but hopefully in the future.
-
Gervin Khan
I definitely have a good read in this article. I love taking photos of a sky most of the time but I am not good in terms of photography so these suggestions of yours will definitely help me to make a good shot.
-
Emily Fata
I’ve been wanting to get more into shooting astrophotography, and was wondering how to do it. The shots always turn out so beautiful when I see them online.
-
Jason
I love all these tutorials. They’ve helped me in my journey of learning astrophotography. Do you have any specific product recommendations in terms of tripods and related gear? I currently shoot with a Nikon D7200 + 18-140mm lens.
-
Farah Al Zadjaly
This is sooooooooooooo interesting. I would love to be able to take such pictures. I need to add this to my bucketlist.
-
Chris
I have been wondering how photographers capture such BEAUTIFUL photos of the night sky – will definitely be trying out some of the techniques! Would an aperture of f3.5 be good enough though? My budget is limited and so I can’t shell out more than around 700 bucks.
-
Crickette, The Things I Have to Say
My goodness these are beautiful. I have a friend who loves to take pictures of the night sky. I’m going to share this to her.


Cris
These are great tips and amazing photos. Astrophotography, or even night photography, isn’t something I’ve learned much about but would love to.